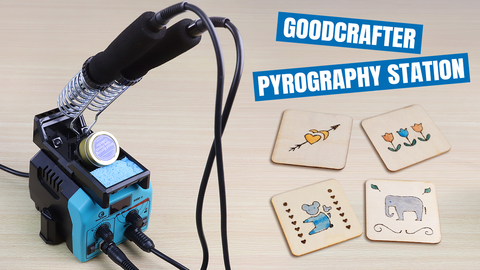
How to start Wood burnings (Pyrography) - Beginner Guide
To finish a Wood burning work, you should know how to draw or paint. At thesame time, you also need to know how to do the wood burning (Pyrography).
To start wood burning, please follow below steps:
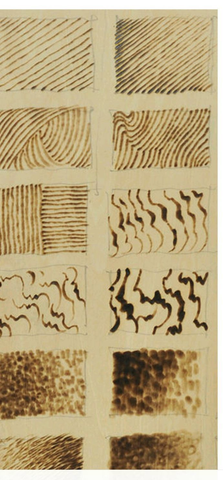
1. You should practice using a burning pen to burn points, lines and then surfaces on a wooden board. So you will know the function of each part of the tip when burning points, lines and surfaces. After practicing for several times, you will master the strength to use when the burning tip touches the board in all directions. You will gradually know the performance of the burning pen and achieve better burning results.
2. After you grasp how to burn the wood, you can start with some simple drawing. You can draw a draft on the wood, then burn the wood. Start the light color, then the dark color. This is more beginner friendly. If you know well about it, you can directly burn on the wood.

3. Learn to color the burning work.Generally speaking, there should be no more than three colors on pyrograph works, and also notice the layers of pyrographs on the whole picture. Be careful to prevent the color from bleeding out of the burning image. Sometimes painting pigments have a lot of water content, the contour line will seep along the board, and the color of the seepage contour line has penetrated into the depths of the wood grain, and it is not easy to erase, and will damage the picture.
Therefore, when using this type of pigment for coloring, just follow our suggestions:
- It should be properly dry when dipped in the paint with a brush.
- Infiltrate a little powder intopigment to ensure that it does not seep out the contour line, so as to cut off the wood grain that may seep water.
- After finishing the coloring , use a burning pen to fill up the entire picture until the picture is complete.